I bought pre-made white fondant that you can get at any craft store, like Michael's or JoAnn's. I used about 8 oz or 1/3 of the box. After sprinkling the surface with cornstarch, the first thing you need to do is color and flavor the fondant, if desired. As you can see below I applied gel food coloring in light purple and a small amount of pink with toothpicks. I omitted the flavoring because fondant doesn't really taste that good anyway, so it's kind of like you can put lipstick on a pig, but it's still a pig...

Once you have the coloring on the fondant, I recommend using plastic food-handling gloves to distribute the coloring. Stretch the fondant as if it were salt water taffy to help ensure a nice even coloring.
Keep stretching the fondant until you have a nice even color, add additional coloring as needed.
Helpful Hint: Break off a small piece of fondant and practice coloring that piece before you change the color of the whole block. A little color goes a long way.
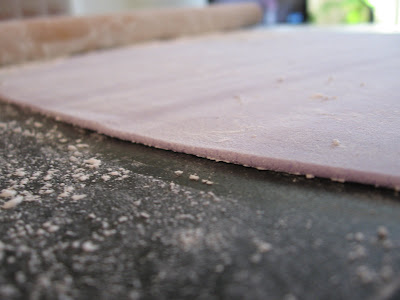
Once you have your desired color, roll the fondant into a ball and pat down to a flatter shape. Roll out with a rolling pin. Craft stores sell special fondant rolling pins, but I haven't had any problems with a regular rolling pin... I think it may make a difference when you're rolling out a large piece to finish a cake, but not for small flower details and other attachments.
Roll very thin, about 1/8" thick.

Using a cookie cutter, cut out the desired shape.
Helpful Hint: Fondant dries out easily, especially when thin, placing a damp paper towel over the fondant when not in use will help prevent cracking.


To help give depth to the flowers, I make them 3D by pushing the center down with a stylist.
Let the flowers dry in the open for a day or two, until pretty dry and then store in an airtight container. Fondant can be stored in the freezer for a longer period of time.
More pictures of the final cake to come shortly.


No comments:
Post a Comment